Practical Guide to Linking Your Bank Account with Digital Financial Planning Tools
Learn how to link your bank account to digital financial planning tools and improve budget management securely.

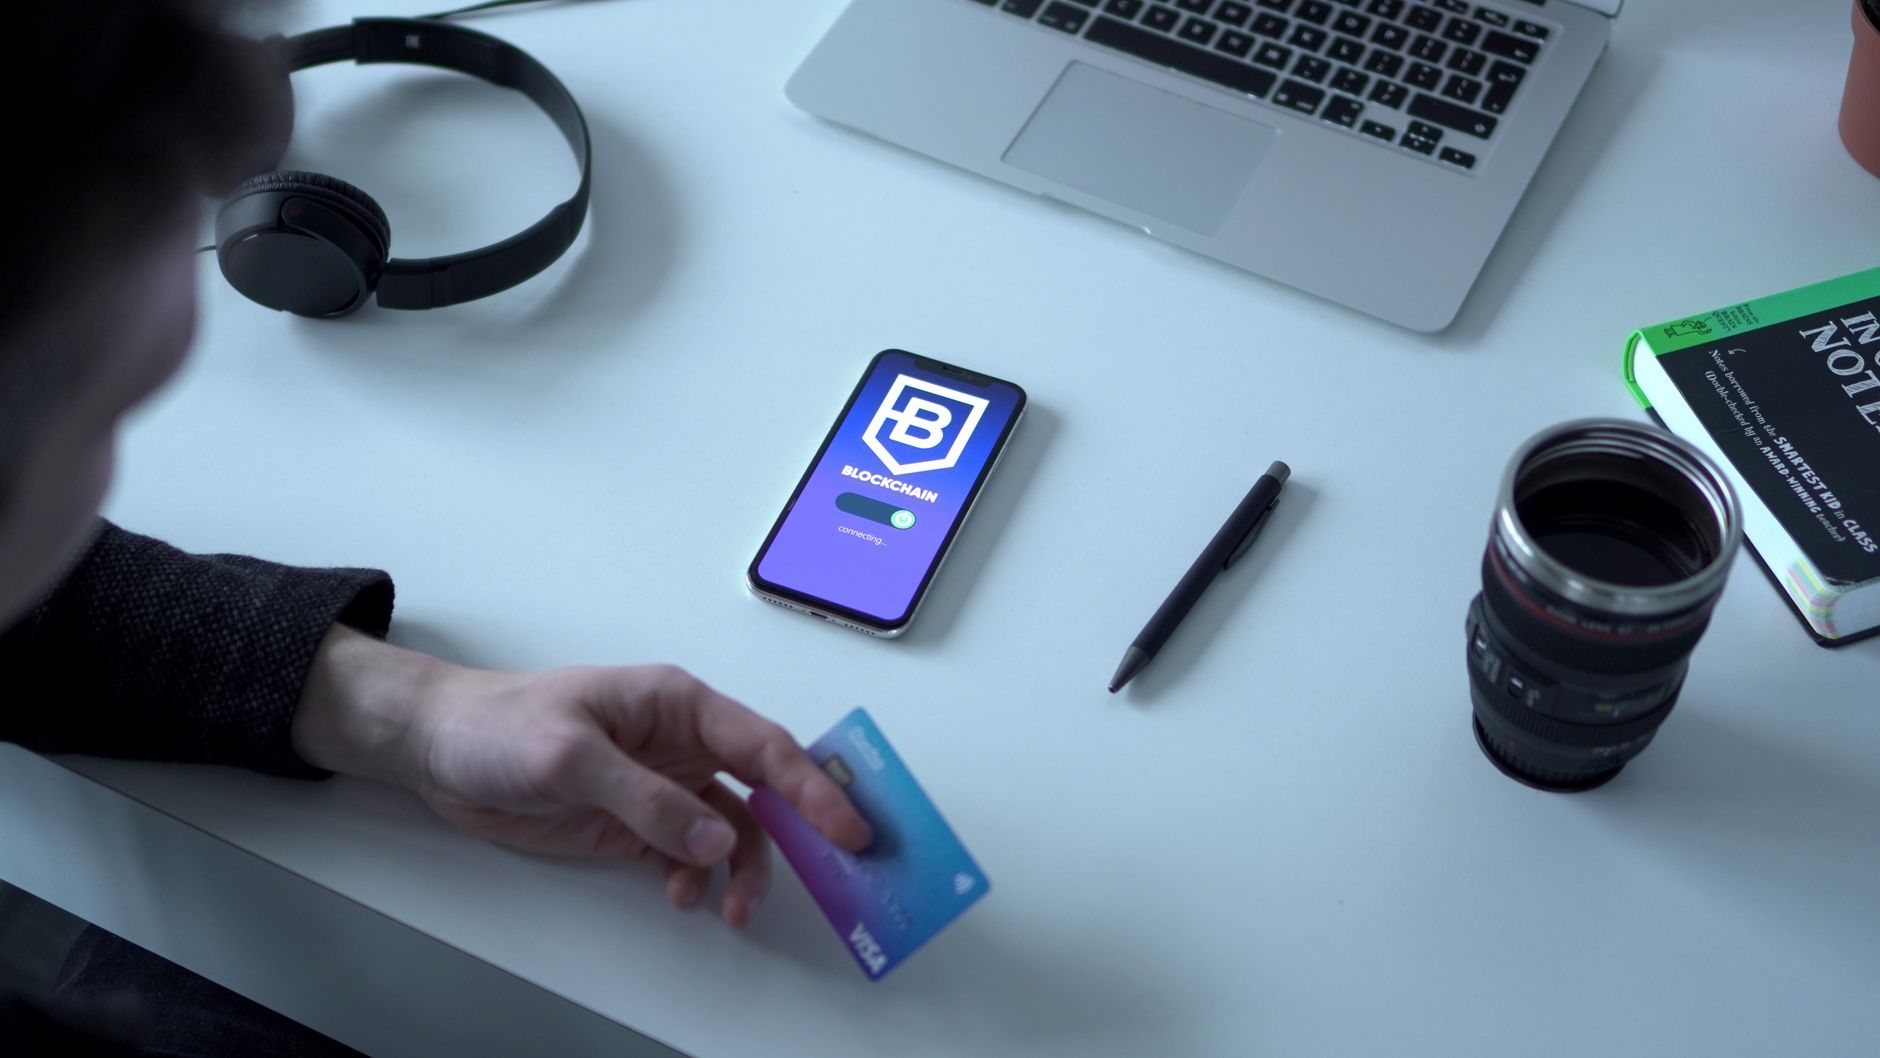
In the era of digital transformation, most of us use apps to track expenses, set budgets, or even plan investment goals. But the real benefit shows when we integrate these tools with our bank account directly, so data is imported automatically and reduces manual effort. This article explains step by step how to link your bank account to a popular financial planning app, while considering security and privacy.
1. Why Linking Matters
Instead of entering each transaction manually, automatic linking allows expenses to be categorised as soon as they occur, uncovering hidden patterns and identifying budget gaps. A simple example: Ahmed sends his salary to his main account then adds multiple credit cards. After linking his account to YNAB, he notices he allocates 30% of his income to eating out, which he hadn’t realised before.
2. Choosing the Right Bank for Linking
Not all banks offer an open API for users. Look for a bank that announces support for Open Banking or provides OAuth to grant access without sharing your password. Banks that rely on modern security protocols make the process easier and reduce risks.
If you deal with a traditional bank that does not support API, you can still rely on aggregation services like Plaid or Yodlee; these services mediate between the bank and the app and encrypt data during transfer.
3. Choosing the Right App
There are several apps aimed at the personal finance market, including:
- YNAB (You Need A Budget) – focuses on the zero-based principle.
- Mint – combines bank accounts, credit cards, and investments.
- Money Lover – supports multiple currencies and allows creating custom categories.
Decide whether you want features like goal planning, detailed reports, or support for recurring payments. A free trial or demo version helps you decide before committing.
4. Actual Linking Steps
Here are the general steps, with some variations depending on the app:
- Create an account in the app: Download the app, register with an email address and use a strong password.
- Select the “Add Account” or “Link Bank” option: You will see a list of available banks.
- Log in via OAuth: You are asked to enter your bank login details (customer number, password, and possibly a two-factor authentication code). Do not enter your password in the app itself; you are redirected to the bank’s official page.
- Set the required permissions: Usually, permission is requested to read transactions, account balance, and possibly categorise expenses. Do not grant permission to withdraw or transfer money.
- Activate synchronisation: After approval, the app starts pulling data. This may take a few minutes to display the first transactions.
- Customise categories: Review the categories created by the app; you can adjust them to match your spending pattern (for example: “Coffee and Morning”).
- Enable alerts: Most apps allow setting up notifications when your balance approaches a certain limit or when spending in a particular category exceeds a threshold.
The result: your bank account becomes a direct source of data, and the app translates it into charts, reports, and future forecasts.
5. Security and Privacy Tips
Linking does not mean letting your guard down. Make sure to:
- Enable two-factor authentication (2FA) in your bank account.
- Use a unique password for each app.
- Regularly review app permissions; if you see an unnecessary permission, revoke it immediately.
- Check privacy policies to know where your data is stored (on local servers or in the cloud).
In case of a security breach, you can quickly revoke authorisation from your bank’s control panel.
6. Real-Life Example from Daily Life
Sarah, a software engineer, has a monthly salary of 12,000 SAR and is saving towards buying a flat. After linking her bank account to “Mint”, she noticed that 1,500 SAR were spent on undisclosed subscriptions (such as renewals of unused apps). Thanks to instant alerts, she cancelled the subscriptions and reallocated the amount to savings. After three months, her savings account balance rose by 5,000 SAR more than expected.
7. Handling Common Errors
Sometimes the app may delay pulling data due to bank maintenance or daily request limits. Do not repeatedly re-link the account; wait 24 hours then try again. If the problem persists, contact the app’s support, providing the transaction number or affected period.
8. Using Data to Plan the Future
Once you have a reliable transaction history, you can:
- Create a cash flow model showing periods when surplus is available.
- Set short-term (buying a phone) and long-term (retirement) goals and allocate a portion of the surplus to each goal.
- Test different scenarios using simulation tools within the app to see the impact of reducing certain expenses.
In this way, the bank account becomes a comprehensive dashboard for managing your financial life.
9. Conclusion
Linking your bank account to financial planning tools is not just a technical feature; it is a real step towards spending transparency, reducing human error, and enhancing the ability to make informed financial decisions. Start today by choosing a compatible bank, try a trusted app, and remember to keep your data secure via two-factor authentication and permission reviews. When money becomes clearly visible, controlling it becomes easier.


